Shopping Cart
0 item(s) - R0.00- 3D Printing and Plastic peripherals (8)
- 433Mhz and Lora (9)
-
Amateur Radio (651)
- - Antenna Analyzer (12)
- - APRS (12)
- - ATU (5)
- - CW (1)
- - Digital Modes (9)
- - DMR (4)
- - Echolink (10)
- - Enclosure (13)
- - Eshail-2 (QO-100) (67)
- - GPS (8)
- - iGate (1)
- - Microcontrollers (43)
- - Microphone (1)
- - Power Supply (7)
- - Programming Cable (6)
- - QRP (9)
- - Radio interface (21)
- - Receiver (9)
- - Repeater (4)
- - RF Amplifiers (20)
- - RF Kits (19)
- - RF modules (116)
- - Rotator (1)
- - SDR (75)
- - Spectrum Analyzer (4)
- - SWR (9)
- - Transceiver (59)
- - WSPR (5)
- Antennas and Acc (320)
- Audio and Video (28)
- Bargain Box (1)
- Battery (3)
- Bluetooth (11)
- Cables (37)
- Computer Peripherals (104)
- Connectors (90)
- Data acquisition (1)
- Display (2)
- Electromechanical (25)
- Enclosure (12)
- GPS (6)
- Hardware (3)
- Home Automation (128)
- Inverter (9)
- Liquid (7)
- Lora (8)
- Microcontrollers (119)
- Modbus (3)
- MQTT (14)
- Network Radio (3)
- Networking (8)
- Power (133)
- Power supply (49)
- Radio Interface (17)
- RF Modules (142)
- ROIP (2)
- Satellite (93)
- Security (13)
- Sensor (17)
- Solar (14)
- Test and Measurements (66)
- Tools and Equipment (8)
- VOIP (10)
- Weather (1)
Ultra-Low-Noise LNA 50-4000 MHZ Relay switchable (in/out) pre-amplifier and ultra-low-noise power supply
Ex Tax: R370.00
Add to Compare
Ultra-Low-Noise LNA 50-4000 MHZ
Relay switchable (in/out) pre-amplifier AND ultra-low-noise power supply.
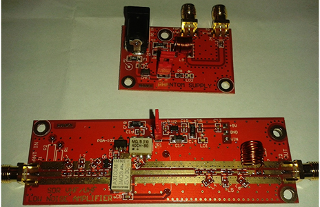
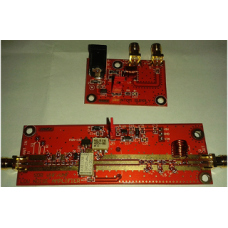
Based on the Mini-Circuits PGA-103+ this module will offer the capability of receiving weak signals across the VHF and UHF frequency spectrum.
Circuit Description
This LNA project is split in two different PCBs, one with the amplifier to be mounted very close to the antenna (outside) and a second smaller PCB, to be placed indoors in the shack near the receiver. The small PCB is a Phantom Power Supply which uses the RF cable to supply the active element with DC power. Using this technique, i.e., having the LNA mast-mounted, it makes a huge difference on the System's Noise Figure. As the RF cable loss in dB adds directly to the system's noise figure, just placing a very good LNA in front of your receiver will not make any improvement and all weak signals would be masked by the noise.
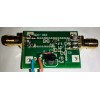
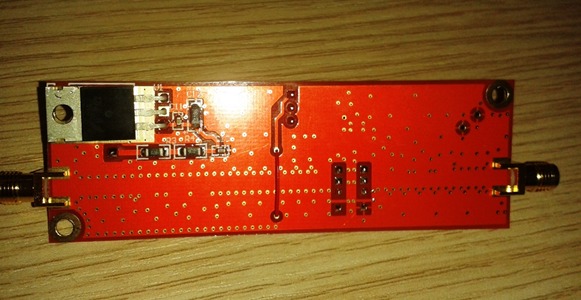
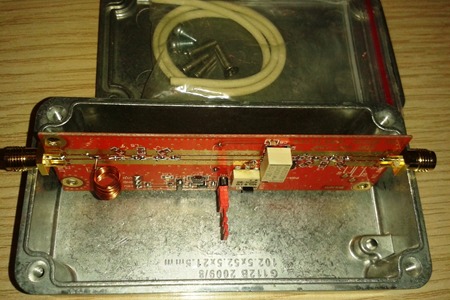
So the LNA has been built on a separate PCB (90 x 30 mm) and a suitable inexpensive aluminum box has been found in eBay at USD 4.60.
Use this text to search in eBay "1pc Sealed DIE-CAST Aluminium Enclosure Box G112 102.5x52.5x25.5mm IP65 GAINTA"
Ultra-Low-Noise LNA 50-4000 MHZ
Relay switchable (in/out) pre-amplifier AND ultra-low-noise power supply
Based on the Mini-Circuits PGA-103+ this module will offer the capability of receiving weak signals across the VHF and UHF frequency spectrum.
Wiring the LNA for use with a VHF/UHF transceiver
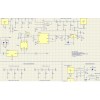
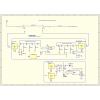
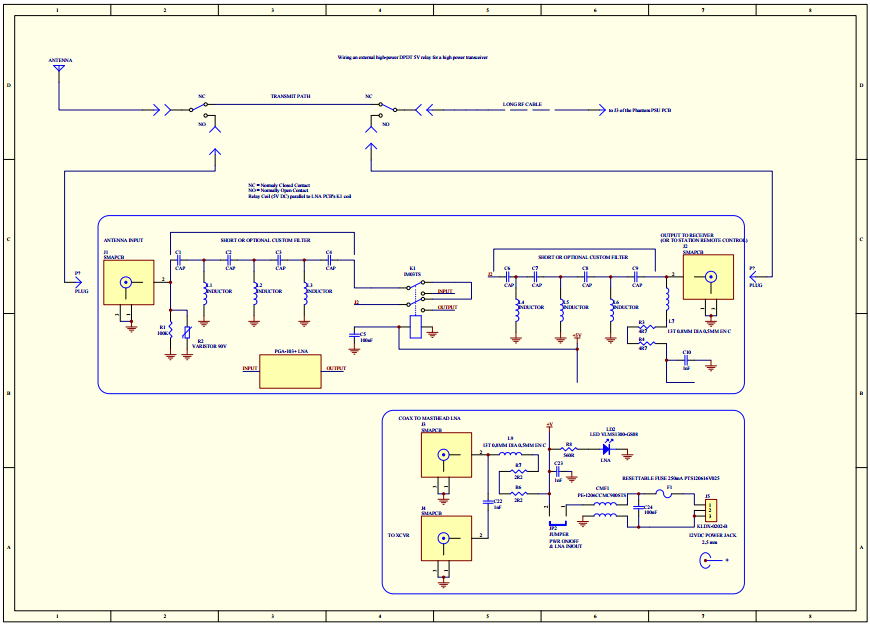
Never attempt transmitting more than about one (1) Watt maximum of RF power through that small RF relay. You need to use a larger one, type DPDT (Dual Pole Dual Throw) with 5 V DC coil that can be paralleled with the small relay coil. If the large relay has a 12V DC coil then you can take 12V DC just before the 5V voltage regulator. The large relay should be energized when the small relay activates, or simply when there is DC voltage in the RF transmission line. Consulting the XCVR Wiring schematic, the antenna is switched directly to the output of your transceiver while transmitting.While receiving, the antenna is routed to the LNA input and the LNA output to the transceiver. The small jumper JP2 can then be routed to your PTT circuit with another small relay, simply to feed DC power when receiving. However, for many hundrends Watts of RF power, the small phantom supply PCB is inadequate as the transmission line will get burned together with the small SMAs. You need to make a new one capable to handle high levels of RF power, using N-type connectors or similar.
XCVR Wiring.pdf
Content
- The price includes the two high-quality ENIG FR4 PCBs which carry all SMD components pre-soldered.
- RF capacitors are used for all the circuits.
- Four SMA female connectors are also supplied soldered.
- The input resistor, varistor and filter components are not supplied.
- Enclosure, cables and power supply are not supplied.
- You will need to wind the two RF chokes, place a small wire under the LNA PCB and fabricate or short-out the in/out filter
- The shipping is with registered mail (your signature is required upon delivery) and not included in this price.
- I usually ship the next day and it takes about a week to 10 days for USA or Australia, less than a week for Europe.
Please note I have no other bussiness relation with this supplier. The two holes on the LNA PCB are placed so for matching with the enclosure supports and the enclosure comes with all necessary screws for mounting the PCB and securing the cover water tight (IP 65). Water-proofing the SMA holes is not so difficult.
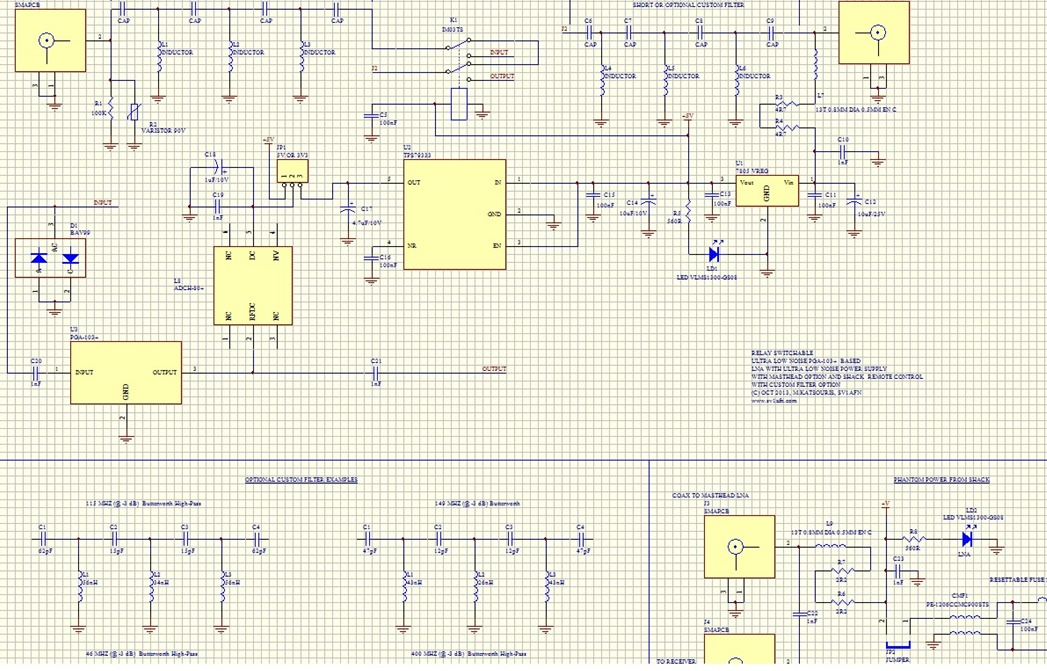
Across the antenna input connector J1, some space has been assigned for an optional high Ohmic value resistor (say 10K to 1M) to ensure a DC path to ground in case of antenna static charges. Also, there is space for an optional Varistor element too.
Immediately after, space for an optional high-pass filter has been designed, useful for not letting the LNA being overloaded by strong signals, like from local radio broadcasters, nearby repeaters etc.
Then, a small RF relay's Normally Closed contacts are used to connect that filter's output to the output circuit. By doing so, when there is no DC power into the cable coming from the shack, the LNA is switched out, to be protected when/if the station transmits. Or, if using very low power, this LNA can be worked together with a transceiver, just when receiving to send DC current to the LNA, or not sending DC for LNA to switch out, when transmitting, to send nothing. In the case of a higher power transmitter, a bigger relay can be wired, with its coil parallel connected with the PCB coil (see schematic below).
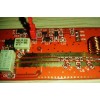
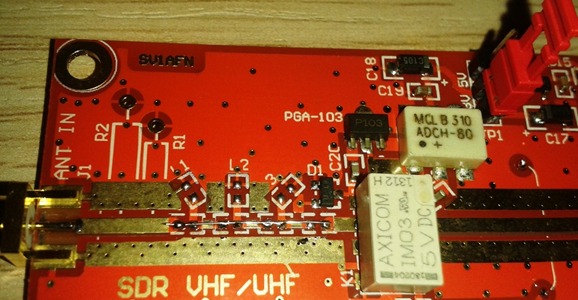
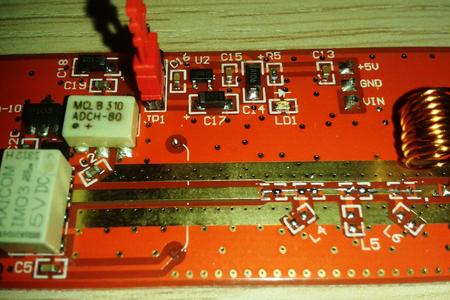
It was tricky to place that relay together with the PGA-103+ chip because of the impedance changes, it worked well after the second try. Also, the relay's DC coil connection is done with a small wire under the PCB to prevent impedance distortion of the 50-ohm co-planar waveguide transmission line..
So, when there is DC power, the RF relay is switched and the input signal is connected to the PGA-103+ input. The PGA-103+ is powered with either 5V or 3.3V DC using two on-board voltage regulators and jumper JP1. The difference is in current consumption mostly and 3rd order IMD, while the gain and the noise figure are generally not greatly affected. This verifies the datasheet information.
At the output, space for another optional high-pass filter is assigned and if not used, the filter's series capacitors should be shorted with wire. This applies for the input filter too. The output filter connects to the output connector, where the RF cable comes from the shack. There is L7, C10 and R3, R4 which feed the circuit with DC power.
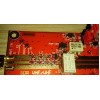
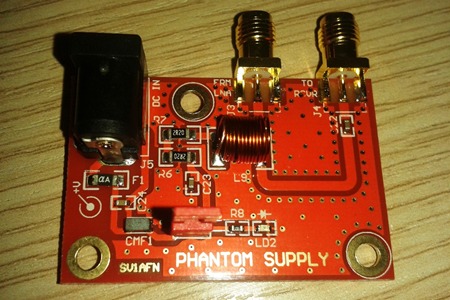
The small Phantom Power Supply PCB (45 x 30 mm) is designed to be connected with a 12V DC power source through J5, a female power jack with 2.5mm diameter pin. 10V to more than 20 V is OK, just make sure that at least 8V arrive to the LNA box after the RF cable voltage drop. The external DC power source is filtered with a common mode noise eliminator choke and fused with a 250 mA reset-able fuse. The total maximum current is 140 mA for 5V operation, goes down to 100 mA when 3.3V is selected with jumper JP1. Connector J3 is important to be connected to the RF cable that goes to the LNA because this one carries the DC, while J4 goes to the receiver, without DC with the help of C22. Jumper JP2 controls the LNA in or out of circuit.
Performance
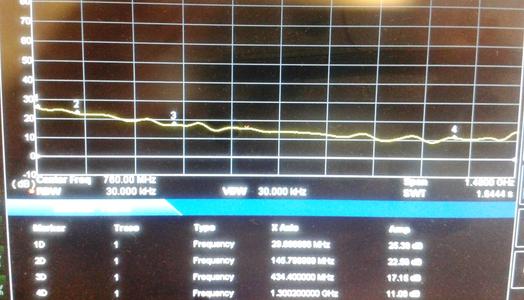
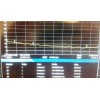
Without a long cable connecting the 2 PCBs and without any of the high-pass filters installed, the gain curve of the LNA follows the PGA-103+ curve. The gain is more than 25 dB at 30 MHZ, more than 22 dB at 146 MHZ, more than 17 dB at 434 MHZ and more than 11 dB at 1.3 GHZ.
The noise figure has not been measured yet but it should be under or around 1 dB. The input high-pass filter loss and relay contacts loss should add to the total NF. As soon as Agilent have my HP-436A noise source fixed, I will publish noise figure measurements here.
For stronger signal handling, 5 V operation is recommended.
Trying it with my RTL SDR receiver, I was able to listen to distant VHF and UHF repeaters I have never heard before. Before installing the LNA, I was using100 ft (30.5 m) RG223. i.e., 14 dB loss at 400 MHZ and +14 dB on the total system's NF, now I have 3 dB cumulative gain and close to 1dB NF. The difference is tremendus!
As checked with a spectrum analyzer, strong local signals do not overload the LNA, instead they may overload the cheap SDR dongle. Switching the LNA out then is simply done by removing jumper JP3 , in such an instance. The PGA-103+ chip's 1 dB compression point at the output is +22 dBm while it's output IP3 is more than 39 dBm.
Wiring the LNA for use with a VHF/UHF transceiver
Never attempt transmitting more than about one (1) Watt maximum of RF power through that small RF relay. You need to use a larger one, type DPDT (Dual Pole Dual Throw) with 5 V DC coil that can be paralleled with the small relay coil. If the large relay has a 12V DC coil then you can take 12V DC just before the 5V voltage regulator. The large relay should be energized when the small relay activates, or simply when there is DC voltage in the RF transmission line. Consulting the XCVR Wiring schematic, the antenna is switched directly to the output of your transceiver while transmitting.While receiving, the antenna is routed to the LNA input and the LNA output to the transceiver. The small jumper JP2 can then be routed to your PTT circuit with another small relay, simply to feed DC power when receiving. However, for many hundrends Watts of RF power, the small phantom supply PCB is inadequate as the transmission line will get burned together with the small SMAs. You need to make a new one capable to handle high levels of RF power, using N-type connectors or similar.
Write a review
Your Name:Your Review: Note: HTML is not translated!
Rating: Bad Good
Enter the code in the box below:
Giga Technology © 2025

